If your cuts are no longer perfectly straight or your joints don’t fit as they should, your saw may be out of alignment. Learning how to calibrate a mitre saw is essential for maintaining accuracy, improving cut quality, and avoiding wasted materials.
In this UK-focused guide, you’ll learn how to calibrate your mitre saw step by step, including squaring the blade, adjusting the fence, and fine-tuning angles.
Contents
Why Calibration Matters
Over time, mitre saws can lose accuracy due to:
- Regular use and vibration
- Transporting the saw
- Blade changes
- Loose components
👉 Even a small misalignment can lead to:
- Gaps in joints
- Inaccurate cuts
- Poor finish quality
Tools You’ll Need
Before starting, prepare:
- Combination square or engineer’s square
- Hex keys / spanner (depending on your saw)
- Screwdriver
- Scrap wood for test cuts
- Pencil
Safety First
Before calibrating:
- 🔌 Unplug the saw
- Ensure the blade is fully stopped
- Work on a stable surface
Step-by-Step: How to Calibrate a Mitre Saw
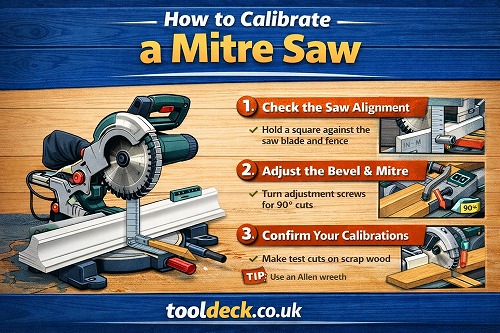
Step 1: Check Blade Alignment (90° to Table)
This is the most important calibration.
How to do it:
- Place a square against the blade (not touching the teeth)
- Check if the blade is perfectly vertical (90°)
If not aligned:
- Adjust the bevel stop screw
- Recheck until perfectly square
Step 2: Calibrate the Fence (90° to Blade)
How to check:
- Place the square against the fence and blade
- Look for gaps
Adjust if needed:
- Loosen fence bolts
- Align it perfectly square
- Tighten bolts securely
👉 A misaligned fence causes inaccurate crosscuts.
Step 3: Adjust Mitre Angle (0° Setting)
How to check:
- Set mitre to 0°
- Make a test cut on scrap wood
- Check with a square
Adjust:
- Use the mitre detent adjustment screws
- Fine-tune until perfectly straight
Step 4: Check Bevel Angle (45° and Others)
How to check:
- Set bevel to 45°
- Make a test cut
- Use a protractor or angle gauge
Adjust:
- Fine-tune bevel stops
Step 5: Test Cuts (Very Important)
- Make multiple test cuts
- Join pieces together
- Check for gaps
👉 This confirms real-world accuracy.
Quick Calibration Checklist
✔ Blade square to table (90°)
✔ Fence square to blade
✔ Mitre angle accurate
✔ Bevel angle correct
✔ Test cuts verified
Common Problems & Fixes
❌ Cuts Not Straight
👉 Likely cause: Fence misalignment
❌ Gaps in Corners
👉 Likely cause: Incorrect mitre angle
❌ Uneven Bevel Cuts
👉 Likely cause: Bevel stop misaligned
❌ Burning Wood
👉 Likely cause: Blade issue or alignment problem
Pro Tips for Users
- Calibrate your saw after transporting it
- Check alignment monthly if used frequently
- Use high-quality squares for better accuracy
- Keep bolts tight to prevent movement
How Often Should You Calibrate?
- DIY users: Every few months
- Professionals: Weekly or after heavy use
- After blade changes or transport
Specific Tip
Older UK homes often have uneven walls and angles—so even with a perfectly calibrated saw, slight adjustments may still be needed during installation.
❓ FAQs: Calibrating a Mitre Saw
How do I know if my mitre saw is out of alignment?
If your cuts are not square, joints have gaps, or angles don’t match, your mitre saw likely needs calibration.
How often should I calibrate my mitre saw?
DIY users should check every few months, while professionals should calibrate more frequently or after transporting the saw.
Can I calibrate a mitre saw without special tools?
You can use a basic combination square, but precision tools like engineer’s squares give more accurate results.
Why is my mitre saw not cutting straight?
The most common causes are a misaligned fence, incorrect mitre angle, or blade not square to the table.
Do all mitre saws need calibration?
Yes, all mitre saws can go out of alignment over time due to use and vibration.
Is calibration difficult for beginners?
No, it’s a straightforward process if you follow the steps carefully and use the right tools.
Final Thoughts
Learning how to calibrate a mitre saw ensures your tool delivers accurate, professional results every time. It only takes a short amount of time but can dramatically improve your work quality.
👉 Key takeaway:
- Always check alignment regularly
- Use test cuts to confirm accuracy
- Maintain your saw for long-term performance


Leave a Reply