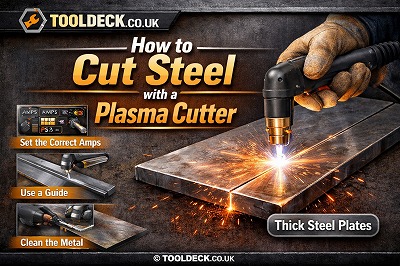
Cutting steel with a plasma cutter is fast, precise, and ideal for both DIY and professional use. If set up correctly, you can achieve clean cuts with minimal slag and high accuracy.
This guide shows you exactly how to cut steel with a plasma cutter, from setup to pro-level results.
Contents
- ⚠️ What You Need Before Cutting Steel
- 🔧 Step-by-Step: How to Cut Steel with a Plasma Cutter
- 🔹 Step 1: Prepare the Steel Surface Properly
- 🔹 Step 2: Set Correct Amperage & Air Pressure
- 🔹 Step 3: Secure the Workpiece & Attach Ground Clamp
- 🔹 Step 4: Position the Torch Correctly
- 🔹 Step 5: Start the Cut (Piercing Technique)
- 🔹 Step 6: Maintain Correct Cutting Speed
- 🔹 Step 7: Keep a Steady Hand or Use a Guide
- 🔹 Step 8: Maintain Consistent Torch Height Throughout Cut
- 🔹 Step 9: Complete the Cut Without Stopping
- 🔹 Step 10: Inspect & Clean the Cut
- Expert Workflow Summary
- 🧰 Tools to Improve Steel Cutting Accuracy
- 🧠 Pro Tips for Cutting Steel Cleanly
- ❌ Common Mistakes to Avoid
- 🛡️ Safety Tips
- ❓ FAQs
⚠️ What You Need Before Cutting Steel
Before starting, make sure you have:
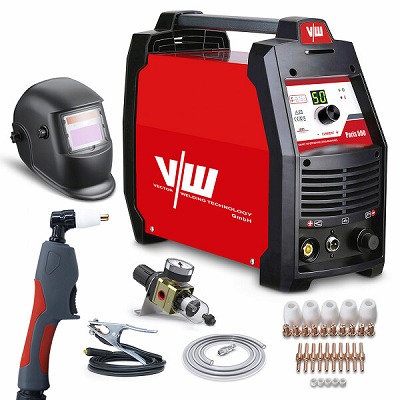
Essential equipment:
- Plasma cutter (suitable for steel thickness)
- Air compressor (adequate PSI & CFM)
- Ground clamp
- Consumables (nozzle & electrode)
Safety gear:
- Welding helmet
- Gloves
- Protective clothing
👉 Proper setup ensures safe and clean cutting.
🔧 Step-by-Step: How to Cut Steel with a Plasma Cutter
🔹 Step 1: Prepare the Steel Surface Properly
✅ What to Do:
- Remove:
- Rust
- Paint
- Oil/grease
- Use:
- Wire brush
- Grinder (for heavy rust)
🎯 Why It Matters:
- Ensures stable arc contact
- Prevents arc interruption
- Improves cut quality
👉 Pro Tip: Even thin paint layers can destabilise the plasma arc.
🔹 Step 2: Set Correct Amperage & Air Pressure
✅ Amperage Guide (Steel):
- 1–3 mm → 20–30A
- 4–6 mm → 30–50A
- 8–12 mm → 50–70A
- 12 mm+ → 70A+
✅ Air Pressure:
- Set to 60–90 PSI (under load)
- Always check while cutting (not idle)
🎯 Why It Matters:
- Correct amperage = proper penetration
- Correct airflow = clean slag removal
👉 Pro Tip: Too much power creates rough edges—balance is key.
🔹 Step 3: Secure the Workpiece & Attach Ground Clamp
✅ What to Do:
- Clamp steel firmly (avoid movement)
- Attach ground clamp to:
- Clean
- Bare metal
🎯 Why It Matters:
- Prevents vibration
- Ensures stable electrical circuit
👉 Pro Tip: A loose workpiece = crooked cuts.
🔹 Step 4: Position the Torch Correctly
✅ Technique:
- Hold torch at 90° angle
- Maintain 2–4 mm standoff distance
🎯 Why It Matters:
- Keeps arc focused
- Prevents uneven edges
👉 Pro Tip: Use a drag shield if available for consistent height.
🔹 Step 5: Start the Cut (Piercing Technique)
✅ How to Pierce:
- For thick steel:
- Start at slight angle (10–15°)
- Then straighten torch
- For thin steel:
- Start directly or from edge
🎯 Why It Matters:
- Prevents molten metal blowback
- Protects consumables
👉 Pro Tip: Always start from the edge when possible—it’s easier and cleaner.
🔹 Step 6: Maintain Correct Cutting Speed
✅ What to Watch:
- Sparks should:
- Exit straight down or slightly backwards
🔍 Adjust Speed:
- Sparks going backwards → too fast
- Sparks spraying everywhere → too slow
🎯 Why It Matters:
- Controls cut quality
- Reduces slag
👉 Pro Tip: Speed is the biggest factor in cut quality.
🔹 Step 7: Keep a Steady Hand or Use a Guide
✅ Options:
- Freehand (for rough cuts)
- Straight edge / guide rail (for precision)
🎯 Why It Matters:
- Prevents wavy cuts
- Improves accuracy
👉 Pro Tip: Even professionals use guides for straight cuts.
🔹 Step 8: Maintain Consistent Torch Height Throughout Cut
✅ What to Do:
- Keep distance constant (2–4 mm)
- Avoid lifting or dipping torch
🎯 Why It Matters:
- Ensures consistent arc strength
- Prevents rough edges
👉 Pro Tip: Inconsistent height = inconsistent cut.
🔹 Step 9: Complete the Cut Without Stopping
✅ What to Do:
- Keep moving until cut is finished
- Avoid stopping mid-line
🎯 Why It Matters:
- Prevents:
- Rough spots
- Slag buildup
- Uneven edges
👉 Pro Tip: If you must stop, restart slightly before the stop point.
🔹 Step 10: Inspect & Clean the Cut
✅ After Cutting:
- Check:
- Edge straightness
- Slag (dross)
- Remove slag using:
- Chipping hammer
- Wire brush
- Grinder
🎯 Why It Matters:
- Ensures professional finish
- Prepares metal for next step
👉 Pro Tip: A good cut needs minimal cleanup.
Expert Workflow Summary
For best results, always follow this order:
- Prepare material
- Set correct parameters
- Secure & ground
- Position torch correctly
- Control speed & height
- Finish cleanly
🧰 Tools to Improve Steel Cutting Accuracy
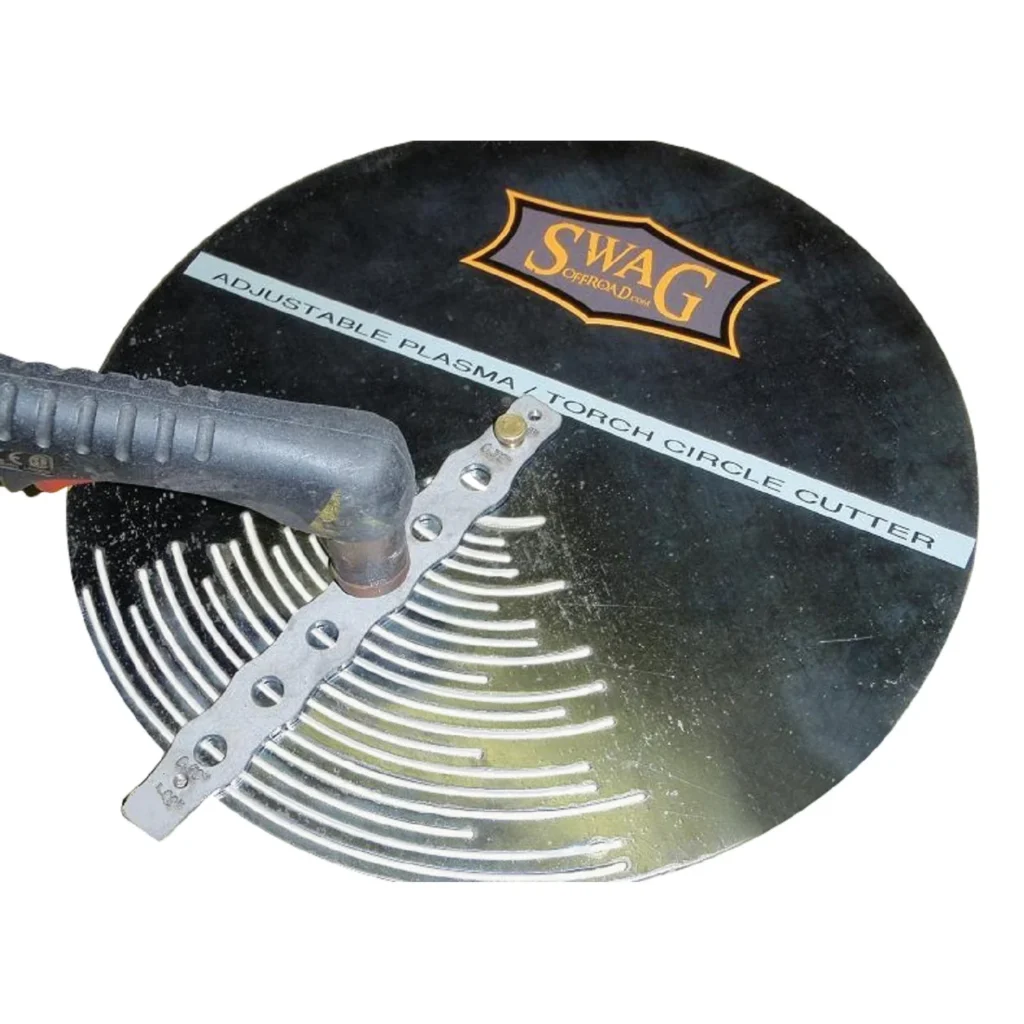
Useful tools:
- Straight edge or guide rail
- Circle cutting guide
- Magnetic guides
- Plasma cutting table
👉 These tools help achieve professional results.
🧠 Pro Tips for Cutting Steel Cleanly
- Use correct amperage for thickness
- Maintain consistent torch height
- Replace consumables regularly
- Keep air dry and clean
- Practice on scrap metal
👉 Small adjustments make a big difference.
❌ Common Mistakes to Avoid
❌ Cutting too fast
✔ Slow down
❌ Wrong settings
✔ Adjust based on material
❌ Poor grounding
✔ Ensure clean connection
🛡️ Safety Tips
- Wear full PPE
- Ensure ventilation
- Keep flammable materials away
❓ FAQs
Can a plasma cutter cut all types of steel?
Yes — mild steel, stainless steel, and more.
What thickness can I cut?
Depends on machine power.
How do I get clean cuts?
Use correct settings and technique.
Do I need to clean steel before cutting?
Yes, for best results.
🏁 Final Thoughts
Learning how to cut steel with a plasma cutter is simple once you understand the correct setup and technique. With proper settings and practice, you can achieve clean, fast, and accurate cuts every time.


Leave a Reply